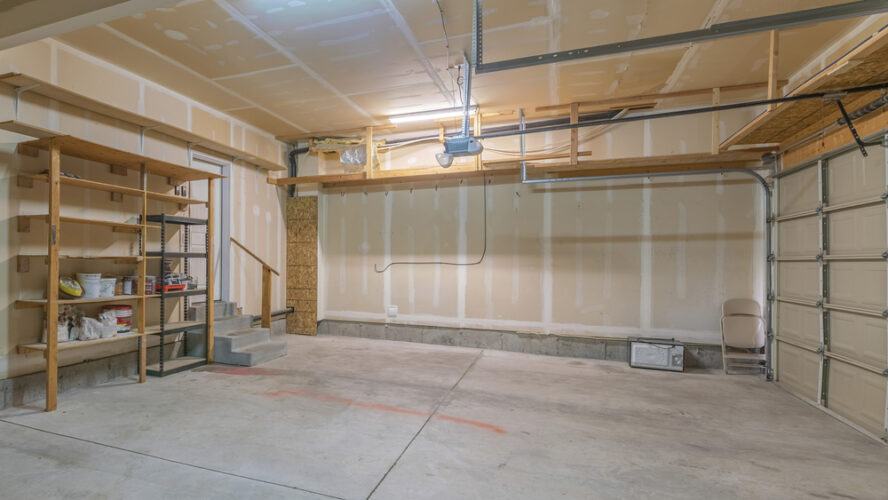
If you have a small garage or just one overloaded with things like sports gear, tools, seasonal décor, etc., then overhead garage storage racks are something you need. Not only does it get everything off the ground and free up space, but it’s also super easy to install yourself.
What Type of Hardware Do You Need?
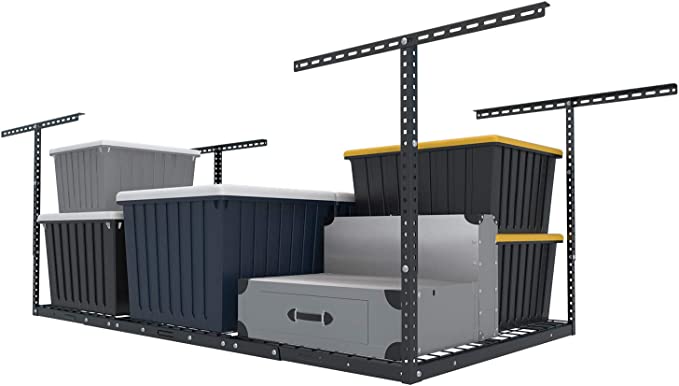
I’ve seen everything from heavy-duty racking hooks to DIY bin slides made of 2x4s. But one of the best overhead garage storage rack mounts is the FLEXIMOUNTS hanging shelves.

I’m recommending these because I’ve used them in a previous home. We had a tiny garage of only 10×12 and a hoard of stuff to store. I got two sets and wholly overhauled my garage space.
Installing Overhead Garage Storage

Installing overhead garage storage racks is an excellent way to add extra storage space to your garage, free up floor space, and improve traffic flow.
It’s an easy job and can be done DIY, so here is a simple tutorial on how to install a ceiling mount shelf for overhead garage storage:
- Gather all materials and tools: You’ll need a ceiling mount storage rack, mounting hardware, a drill, a stud finder, a level, and a ladder.
- Measure the space: Measure where you want to install the overhead storage rack. Make sure you have enough room to install the rack and that it will not interfere with any existing lights, vents, or other fixtures. Also, check that it will line up with a stud or secure strapping to support the weight. Never install something like this in regular drywall or thin materials.
- Find the studs: Use a stud finder to locate the studs in the ceiling. Mark the location of the studs with a pencil. This is crucial and will ensure your racking won’t fall out.
- Assemble the storage rack: Follow the manufacturer’s instructions to assemble the storage rack you bought. Make sure all the parts are securely fastened together.
- Mark the holes: Using a ladder and probably the help of a second person, place the rack on the ceiling and align it with the studs. Use the leveling tool to make sure that your rack is level. With a well-sharpened pencil, mark the location of the holes where the rack will be mounted.
- Drill some pilot holes: Use your drill to make pilot holes through the marked locations. Be sure to drill through the ceiling and into the studs. Creating these holes will help the fastening screws screw into place.
- Install the mounting hardware: Insert the mounting hardware into the pilot holes and secure it with a screwdriver or drill, whichever’s easier for you.
- Hang the storage rack: Carefully lift and position it over the mounting hardware. This might require the help of a second set of hands. Secure the rack to the mounting hardware by tightening the bolts or screws.
- Stability test: Carefully load the rack with the items you want to store, making sure the rack is stable and the items are secure.
Always follow the manufacturer’s instructions when assembling and installing the storage rack.
It’s also essential to ensure that the rack is securely fastened to the studs in the ceiling to ensure stability and safety.
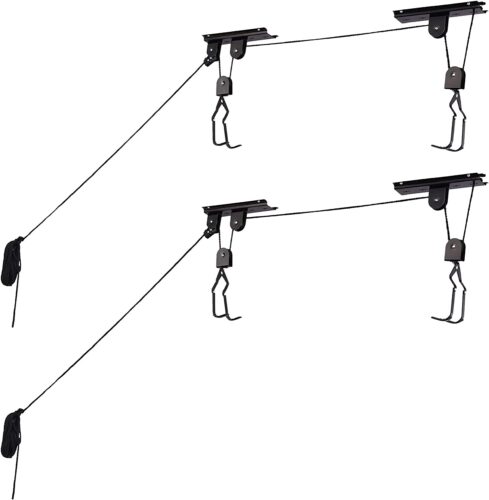
If you have an overwhelming amount of bikes in your garage like we do, these Rad Cycle – Ceiling Mounted Bike Pulley Systems are amazing for stashing away bikes easily and quickly when they’re not in use, but still making them accessible when you want to go on that last minute family bike ride.

Consider consulting with a professional if you are not confident in completing this task.
Benefits of Using Overhead Storage Racks in the Garage
- Additional storage space: The most apparent benefit of overhead storage racks is that they provide additional storage space in the garage. This can be very useful for people with limited floor space in the garage.
- Organizational benefits: Racks and bins like this can help to organize items in the garage. This can make finding the things you need more accessible and reduce clutter.
- Safety: It helps keep items off the floor, reducing the risk of tripping and falling. This can be especially important for homeowners with children or elderly family members.
- Cost-effective: They’re a cost-effective solution for adding storage space to the garage. Bins and shelves are typically less expensive than building a garage addition or renting a storage unit.
- Easy to install: Overhead storage bins are relatively easy to install and can be done by most homeowners with basic DIY skills.
- Versatility: You can use them to store a wide variety of items, like holiday decorations, sports equipment, tools, and more.
- Customizable: Overhead racks and bins come in a ton of different sizes and styles and can be customized to fit the specific storage needs of a home.
- Durability: Many overhead storage racks are constructed from materials designed to last for many years.
FAQs
Is overhead garage storage safe?
Absolutely! When installed properly and weight capacities are considered, overhead storage is safe. There have been some cases in the past where overhead racking was recalled due to faulty bolts. So, double-check and make sure your hardware is secure.
How do I store things on my garage ceiling?
Install shelving or bins using proper anchors and hardware that can hold the weight of the items you want to store.
How much should it cost to install overhead shelves in a garage?
If you’re handy, you can do it yourself. So, the cost would be buying the bins, shelves, and hardware which can cost as little as a few hundred bucks.
Out of Sight, Out of Mind
When using overhead storage racks, it’s essential to load them properly and not overload them; also, make sure that your racking is securely fastened to the ceiling and the items are properly secured to avoid safety hazards. I hope this little guide helped you to find a better-functioning garage space!