Suppose that you’ve finally attached tiles to your wall after much effort.
But now the gaps between them are sticking out like a sore thumb!
How heartbreaking is that?
How exactly do you fix this and fill the gap between the tile and the wall?
Firstly, caulking the gaps is a very useful method you can apply. If not, you can use a baseboard to close the gap! Filling the gap with cement is another available method. Finally, building a ‘fake’ wall to cover the gap is also smart!
A bit confused about how you can do all these.
We got you covered. Read this piece for an in-depth discussion about these methods!
How Do You Fill the Gap between Tile and Wall
Grouting is not usually a recommended method to fill the gaps. But you can easily use other easy methods. We have narrowed down the 4 most useful ones below for your convenience. They are as follows-
Method 1 of 4: Caulking the Gap
We recommend using acrylic or latex caulks to fill gaps since they have elastic properties. So they won’t crack due to movements happening over the wall.

Silicone caulking tends to peel off later on, so it’s best not to use them. Then again, does your area often come in contact with water? In that case, silicone caulking would be ideal.
Now before caulking gaps, there are some steps to be followed. Which are:
Cleaning the Area
Scrape off all the dirt that has accumulated inside the gaps. Vacuum out everything and take a bowl of rubbing alcohol. Then, take a sponge and start scrubbing the area. Let it dry afterwards.
Applying the Caulk
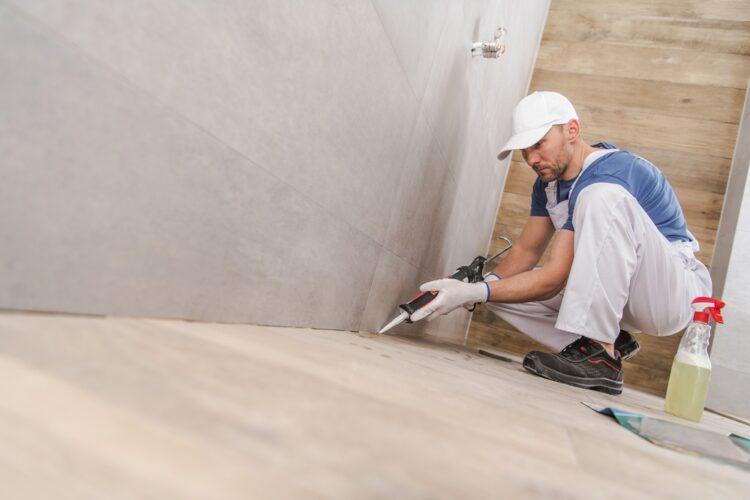
For the next step, take your caulking gun and load the caulk tube inside it carefully. Cut the end of the nozzle using scissors. Pull the trigger of the caulking gun to start applying it.
Carefully seal the gaps between your tile and wall. You should hold the gun at 45 degrees while applying the caulk. Once you’re done, smoothen the caulk using a caulking tool.
You know, caulks are used for many purposes in this way. Like filling gaps like this, they are used to caulk baseboards to the tile floors too!
Observing the Area
For the final step, let the caulk dry after sealing the gap. Wait for 24 hours to let it completely dry. Afterwards, search for any uneven places. Because sometimes, there might be holes inside your caulks from termites after caulking.
If that’s the case, apply the caulk again in those damaged areas. Then, wait for another 24 hours.
Method 2 of 4: Using a Baseboard

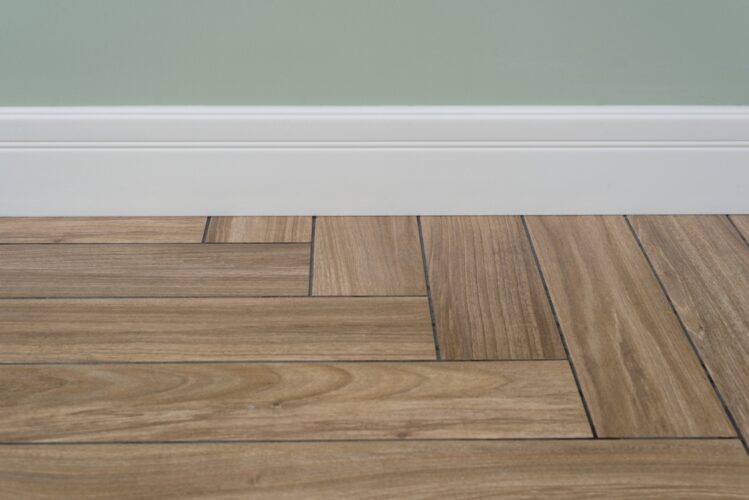
Baseboards are perfect for filling gaps of around ¼” in size! So, all you need to do is put the baseboard between the gaps and grout them. And voila! It’s done!
Apart from wooden baseboards, there are multiple things you can use as alternatives too:
- Vinyl cove base
- Toe base
- Shoe molding
- Quarter Round Piece
- A bevel-edged tile (Preferably of the size 3×12)
We’d like to give you an additional tip. Are you using baseboards to fill the gap between hard surfaces? Hard surfaces mean filling the gap between the floor tile and the wall.
If that’s the case, install a quarter-round or shoe molding along with your baseboard. Because for hard surfaces, one layer of baseboard is not sufficient. There might be cracks between the surfaces later on.
So you see baseboards are a wonderful solution to this problem! Many people often transition from wall tiles to baseboards for multiple uses.
Method 3 of 4: Filling with Cement & Sand Mixture

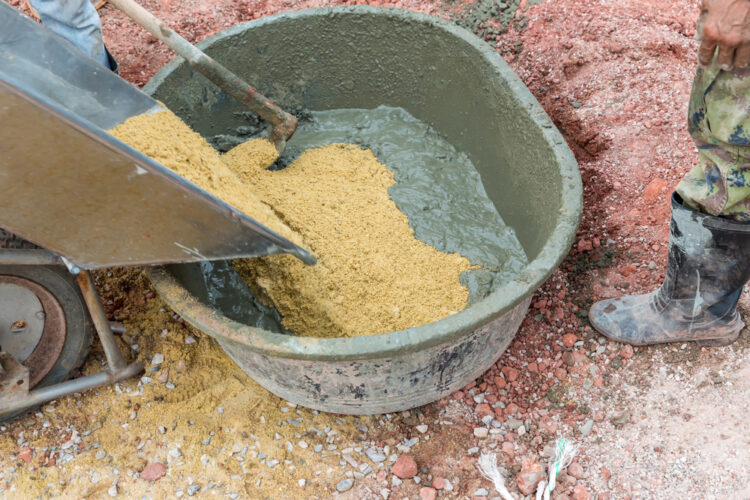
Filling gaps using cement and sand is an option used by many! For this, collect a portion of your local sand. Then, mix 15 cups of sand with 5 cups of cement. You can adjust the amount in a 3:1 ratio
After that, mix this mixture with a pack of Styrene Butadiene (SBR). This synthetic rubber emulsion will improve the quality of your sand and cement mixture.
Thoroughly mix the mixture. Then, create a mold of your desired shape. Apply it inside the wall and tile. You can take the help of a small trowel and brush to get the desired shape. Just let it set and you’re done!
If you don’t have SBR, you can mix lime mortar with your cement mixture too!
Method 4 of 4: Building a ‘Fake Wall’
Sometimes you’ll see that there are significant gaps. This is because your wall was exposed to moisture. Then, your wall and tile won’t even have equal gaps at varied distances. So, how to fill the large gap between your wall and tile then?
You see, for this kind of problem, there is a clever trick that you can use! Which is, making a ‘fake’ wall. Don’t get what we mean? Hold on, we’re explaining.
You can use a tile-setter and cement to construct an extra layer of ‘wall’ for filling the gap. Then, enclose the gap between your original wall and tile. Flush the ‘fake’ wall to their surface and you’re done!
FAQs
Can you grout between the wall and the tile?
It is not recommended to grout between the wall and the tile. This is because grout is not flexible. And it cannot withstand the pressure of walls. This will lead to the cracking of walls. So caulking is recommended instead.
How do you transition from tile to drywall?
The easiest transition method from tile to drywall involves using the ‘Schluter Profile’. The method uses metal bars to fit over the edges of tiles.
How big of a gap can I fill using a bead of caulk?
A single bead of caulk can fill a gap of ¼ inch. If the gap is more significant than that, then apply to the deeper areas. Then, wait for your caulk to dry. Next, apply another layer of caulk. Keep doing this until all the space between the wall and the tile is covered.