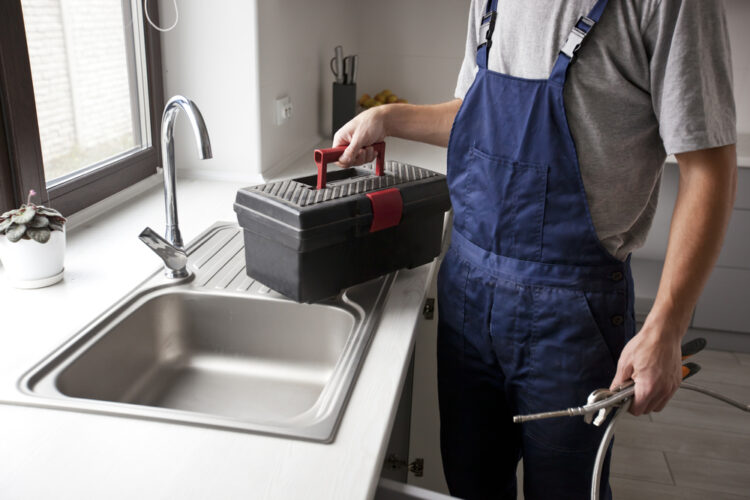
Small things like updating handles, adding a backsplash, or rolling on a new coat of paint can transform your kitchen.
Another great option is to replace your kitchen sink with a new stainless kitchen sink. Upgrading is a great option, especially if you’ve got an old, rusty cast-iron sink. But how do you replace an old cast iron sink with a stainless sink? I’ll show you!
How to Replace & Install a Kitchen Sink

Replacing a kitchen sink can be a simple and inexpensive DIY project to give your kitchen a new look.
Swapping out a cast-iron sink for a stainless-steel one is a good move because stainless steel is more durable and easier to maintain than cast iron.
Here’s how you can replace and install a kitchen sink yourself.
Step One: Get everything together
You will need a new stainless-steel sink, a sink template (if provided by the manufacturer), a caulk gun, plumbers putty, silicone caulk, a saw, a putty knife, a drill, and a set of essential hand tools.
Step Two: Remove the old sink
Turn off the water supply to the sink with the shut-off valves below and remove the faucet and drain. Use a putty knife to scrap off the old caulk found around the sink. Loosen the fasteners under the countertop that hold the sink in place and pull that sucker out.
Step Three: Prepare the new sink
Place the sink template on the countertop and trace the outline of the sink. This is important if the new sink is larger than the old one and needs a bigger opening. Use a saw to cut the countertop along the traced line. Clean the countertop and the new sink with mild detergent and dry them thoroughly.
Step Four: Apply plumbers’ putty
Add a small amount of plumber’s putty around the sink drain hole.
Step Five: Install the new sink
Gently drop the new sink on the countertop and align it with the hole. Use the fasteners provided by the manufacturer to secure the sink in place.
Step Six: Connect the drain
Connect the drain to the sink by following the manufacturer’s instructions.
Step Seven: Install the faucet
Install the new faucet by following the manufacturer’s instructions. You can reuse the old faucet if it’s in working order and fits the new sinkholes.
Step Eight: Apply caulk
Caulk a small amount of silicone around the sink and faucet to seal the joint between the lip and the countertop.
Step Nine: Test the sink
Turn on the water supply and test the sink for any leaks. If you find some leaking, stop and turn off the shut-off valves again to tighten and double-check everything.
Pro Tips from Someone Who’s Done This
- When cutting the countertop, using a circular saw with a fine-tooth blade is best to avoid chipping the material, which is usually Formica.
- Measure the sink and the countertop precisely to ensure that the new sink will fit properly. If the new sink is smaller, you’ll have a problem requiring a new countertop.
- If you have stone or granite stops, you won’t be able to cut the holes yourself. Not easily, anyway. You need special tools and experience to ensure you don’t wreck the material. However, you can cut granite in a DIY way, but if you’re not comfortable, call a local kitchen specialist and book a time for a stone cutter to come with the right tools for the job.
- Always follow the manufacturer’s instructions for the specific sink you’re installing.
Following these simple steps, you can easily replace and install a kitchen sink, from a cast-iron to a stainless-steel sink, and give your kitchen a fresh new look.
Cast Iron vs Stainless-Steel Sinks
Cast iron sinks and stainless-steel sinks are both popular kitchen sinks, but they have some critical differences in durability, maintenance, and aesthetics.
Durability: Cast iron is durable and can last for decades if the sink is well-maintained. They’re made of heavy-duty cast iron material resistant to scratches and dents.
But, while stainless-steel sinks are also durable, they’re more prone to scratches and dents than cast iron sinks, especially if they’re not made of high-quality stainless steel.
Maintenance: Cast iron must be seasoned and resealed regularly to protect them from rust and stains. They must also be cleaned with special non-abrasive cleaners to avoid damaging the porcelain enamel finish.
Stainless steel sinks are easy to maintain and clean; they can be cleaned with a soft cloth and mild detergent. They’re also resistant to rust and stains.
Aesthetics: Cast iron sinks come in a bunch of colors, which makes them a good choice if you want to add some color to your kitchen.
Steel sinks come in various styles and sizes, but they’re typically silver in color, giving a modern look to the kitchen.
Cost: Cast iron sinks are generally more expensive than stainless steel sinks because of the materials and the grueling manufacturing process.
Stainless steel sinks are more affordable and can be found at a wide range of prices.
Let That Sink In
So, cast iron sinks are durable and can last for decades, but they need regular maintenance and resealing.
Stainless steel sinks are easy to maintain but more prone to scratches and dents. If you’ve got an old cast iron sink, I hope these tips helped you replace it with an upgraded steel one.
FAQs
What should you not put into a stainless steel sink?
Never leave metal items and dishes in a wet stainless sink, as it will cause rust to form.
What are the cons of cast iron sinks?
They’re extremely heavy and need to be treated and cleaned correctly.
Do cast iron sinks break dishes?
Yes, they can if dishes aren’t carefully placed inside.