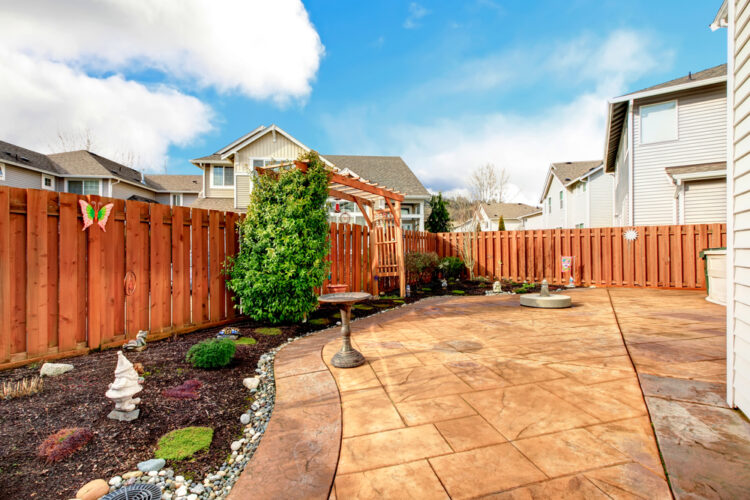
Suppose you want to add a component-built wood fence to your yard. Instead of pre-built panels, choosing a wood fence may be a huge task. But the fundamental components are easy to understand. In that case, we think we’ve got the ideal segment for you.
Is it possible to install fence posts in wet ground?
Yes, it is definitely possible! Many meadows, parks, golf courses, and houses have wet ground. To install it, in the wet ground, dig the holes 3-5 inches deeper. Fill the holes with gravel afterward. Use concrete and pressure-treated wood to effectively install wood posts. You need enough depth and backfill for drainage.
The whole installing process may be found in the section below.
Do you like what you see in the overview? We have more info for you.
Dive in to learn all there is to know!
Is It Okay to Install Fence Posts in Wet Ground
In the wet ground, a fence can be installed. Most people believe that rainfall will saturate the earth. This can make it impossible to correctly set up your post holes or weaken the concrete you want to use. But this is only true if there is steady rain.
The strength of your fence will not be harmed by regular moist groundwater or light rain. In the case of heavy rain, water may readily accumulate on top of the concrete and be absorbed by the siding.
Water damage is a real possibility as a result of this. In the long term, plywood used under siding can rot. But erecting a barrier during a deluge that is expected to continue many days would be a major error. If you attempt this, all of the post holes will fill with water.
You won’t be able to dig the holes to get rid of the water in heavy rain like that. Even if you could, the foundation would be too weak to support the fence in that kind of soil. In any other kind of moist ground, however, a long-lasting fence may be installed.
Let’s look at the best way to construct a fence on the damp ground now that you know you can.
How to Install Fence Posts in Wet Ground

Let’s begin the installation process. This might take a bit of your time. But we assure you the time taken for the whole is much less than that of retiling a shower. You just have to be patient throughout the process.
Necessary Items
- Gravel
- Cement
- Shovel
- Pressure-treated wood
- Posthole digger
After arranging these items, you can go for the step-by-step instructions.
Step 1: Dig Holes
To begin, use a posthole digger to dig your holes. Each hole should have a depth of about 20 inches and a width of about 6 inches.
By a few inches, the hole should be below the frost line. As previously said, create each hole approximately 3-5 inches deeper.
Step 2: Fill the Holes with Gravel
Use your trusty shovel to fill the holes you just excavated with gravel now. Make sure to backfill the bottom third of each hole with tamped gravel. It’ll prevent the holes from leaking.
Step 3: Prepare Concrete Mix

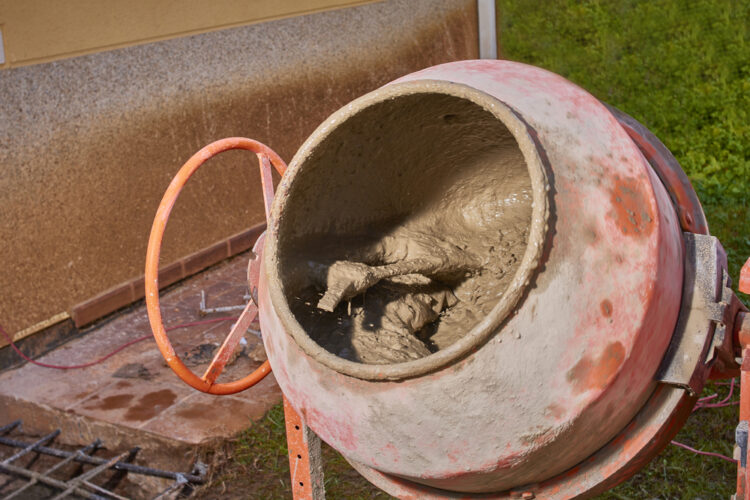
It’s time to prepare the concrete mix. Take your concrete and combine it with some water to make a paste. Follow the manufacturer’s guide for the proper amount you need. If there’s no guide, you can go for the basic mix for concrete preparation.
You may use a big shovel to swirl it around in a wheelbarrow. After you’ve prepared your concrete, pour it into each of the holes.
You can purchase your wheelbarrow from these recommended products below:
| Product-1 | |
| Product-2 |
Choose any of these for the job!
Step 4: Secure the Holes
Take your pressure-treated wood now and place it into the hole. This will eventually hold your concrete. Make use of whatever force is necessary to secure it in the hole.
Once the fence is buried farther down in the hole, it’ll become more stable. Do this for each and every post hole you’ve dug.
Step 5: Level and Balance the Posts
Finally, before your concrete sets, make sure that each post is level and balanced. Check to see that each post is correctly aligned with the others. Make any required adjustments if necessary.
Feel free to pour more concrete to ensure that everything is exactly perfect. Once you’re done, make sure to wait for the concrete to set.
Don’t worry, the time is way less than the time taken for grout to seal. You only have to wait for 24 hours. The concrete will be set even in the presence of rain.
FAQs
Question: How long should concrete posts be set?
Answer: Concreting a fence post takes just 20-40 minutes. As a result, you may go on to the next step or backfill the hole. For a basketball backboard, it takes 4 hours to cure normally.
Question: How to secure a fence post without concrete?
Answer: Using gravel to backfill the fence post hole is another option. A third of the post’s length should go into the hole. Fill it with crushed gravel afterward, tamping it every five inches until it’s flush.
Question: Can you use concrete posts on wet ground?
Answer: It’s good if you use less water, but it’s not critical. Concrete hardens as a result of a chemical process that may occur on wet ground. The cement cannot wash away if the concrete isn’t really submerged. It won’t begin to set.
Conclusion
That’s everything we had regarding your installing fence posts on wet ground. We’ll be parting our ways with this.
We hope this solves your confusion. Until next time, see you. Good luck!