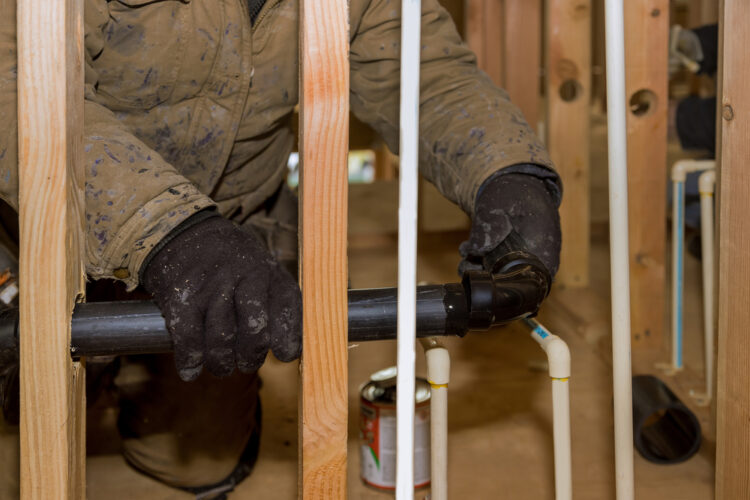
Has your PVC pipe started to leak? Worried about how to cover your kitchen pipes during the renovation? Yeah, capping off the pipes will be the best solution.
Not covering the pipes can even result in serious water-related hazards.
The question arises, how to cap off a PVC water pipe?
There are two types of capping-off methods available: permanent and temporary. For the permanent process, put primer and then cement before placing the cap. Finally, after putting on the cap, check it before allowing water to flow. If you’re doing renovations, you better follow the temporary process.
Now that you’ve got an outline of the whole thing, let’s move forward!
Why Should I Cap Off The PVC Pipes

Just like your unsealed shower tray can cause an overflowing shower tray problem. Similarly, uncapped PVC pipes can cause an overflow of water too.
Putting a cap on the end of your PVC pipes can save you from those consequences. It can also ensure PVC pipe’s durability. Capping them off will decrease the excessive waste of water as well.
Another thing is the temporary sealing of water pipes from time to time. This temporary cap-off method can save you during renovation or new appliance installation.
It will seal the mouth of your pipes when you’re rearranging them. So, water spilling or leaking won’t take place.
Even during relocating of washrooms, you must seal the plumbing pipe off during the operation. Otherwise, you can’t do your work correctly. Thus the PVC pipe capping methods are literally your savior from serious hazards.
What To Do If I Want To Cap Off The Pipes Temporarily

Temporary pipe capping is mostly used during in-house operation time. Like during renovating the kitchen, or relocating it, or setting a temporary shower during a bathroom renovation, etc.
Without any delay, let’s start putting on the temporary cap.
Preparing the Toolbox
Push-on fittings are mainly used for temporary PVC pipe sealing. The tools that you’ll need to set the push-on cap on the pipe are:
- Hacksaw
- Rag
- Tape Measure
- Marker
- Emery Cloth
Well, you might not have a hacksaw in your house. That’s understandable. But don’t worry about picking the wrong product.
We’ve added our best pick here for you. Just choose one from them. These will suit perfectly for your needs:
| Product 1 | |
| Product 2 |
Grab one from here and put on your handyman cap. We’re all ready to start the capping-off mission.
Putting on a push-on cap in front of your PVC pipe involves a simple 3 step process. So, just follow it to fix the pipe cap properly. Before starting, make sure to choose a cap compatible with the diameter of the pipe.
Let’s start the process-
Step 1: Turning Off The Water Supply
You must shut your water supply off by turning off your main power switch. As we’ll be cutting some of the pipe areas, let the residual water flow out of the faucet.
You must not unscrew the pipelines without turning the water supply off.
Step 2: Cutting The Pipe and Smoothing The Edges
After turning the supply off, take a measurement of where to cut. Cut it as short as you can. This is for making the pipe opening even.
You should cut that part out using a hacksaw. The cutting is quite similar to using a jigsaw to cut ductwork.
After cutting that pipe, clean the end with a rag. If the edge isn’t smooth enough, sand it down with the emery cloth. Now your pipeline is ready for the cap installation.
Step 3: Installing The Cap
This is an easy step. Just put the cap in front of the pipe and press it down. You can make a measurement mark according to the cap’s length beforehand. So when the cap reaches that mark, you can be sure that the cap is installed perfectly.
Yay! You’re done with the temporary water cap installation. It should solve your leakage problem.
If you’re wondering how to remove the cap, trust us it’s the easiest. Just put a bit of pressure on it and pull it out. Yeah, it’s that simple.
Let’s move onto the permanent cap installation part.
How To Cap The PVC Pipes Off Permanently
When your pipes are leaking water or overflowing, you need to cap them off permanently. This sealing process has some steps to follow. But, before jumping into that directly, let’s arrange the toolbox.
Arranging The Toolbox
You must put all these tools inside your toolbox:
- PVC primer
- PVC cement
- Wrench
After preparing the toolbox, we can jump into the capping off process-
This process is a bit longer than the temporary one. But as we’re prepared with our tools, we can start this 3-step process immediately.
Step 1: Putting The Primer
Wipe off the pipe endings first. Then, coat the inner surface of the cap socket and the exterior of the pipe with a PVC primer. It’ll help these two parts to stick together.
Step 2: Putting The Cement and Fixing The Cap
Afterward, put on the PVC cement and put the cap socket on it. Try to position your pipe horizontally so the cap will lay on the top.
Hold it for 5-10 minutes so that the cap gets set. Tighten the PVC cap clockwise using an adjustable wrench. After tightening the cap, it’s all ready for finalizing.
Step 3: Final Checking
Now turn the water supply on to check if the pipe is okay or not. If it’s still leaking water, you might need to take some expert opinion.
If you’re worried about the removal, you’ve to cut the cap off using a hacksaw. Because glued caps can’t be separated otherwise.
You’ve finally got the complete picture about the whole capping-off thing. Now, just act according to your situation.
FAQs
Question: What happens if you don’t use PVC primer and glue?
Answer: PVC needs to be glued with primer. Otherwise, PVC pipes can’t be put together. Basically, you can’t join two or more PVC pipes together without using primer and glue in between.
Question: Can you use push fit stop ends permanently?
Answer: Actually no. Push fits are good for temporary use during renovation or relocation purposes. But they can’t be used as a permanent solution. You mustn’t use them for more than 1 year.
Question: How long does PVC glue take to cure?
Answer: You should give your PVC glue enough time to cure. You must follow the instruction manual to know about the cure time. Hold the pipes for 30 seconds after applying the glue. Giving them 24 hours to dry up should be enough.
Final Note
This is the end of our article. Hopefully, now you have all the answers to how to cap off a PVC water pipe. Have a smooth installation experience.
Goodbye!