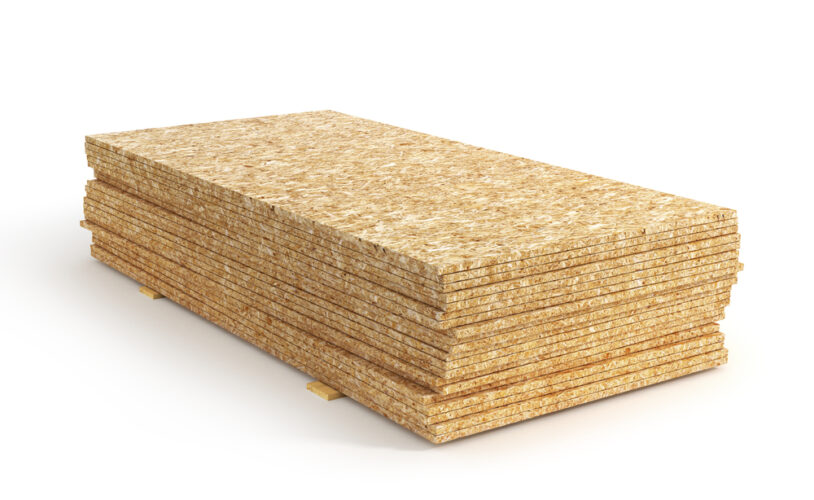
In recent years, particleboard has been proven to be a suitable building material.
To keep it intact and strong, you need proper storage as well as a good sealing process.
The use of waterproof sealant before any installation is the hidden secret behind long-lasting particleboards.
And it can be a relatively simple procedure if you know how to seal particle boards.
The benefits of particle board sealing cannot be overstated. Especially because it ensures the board’s durability. In order to seal, measure and mark the area. Carefully cut the board using a jigsaw. After that, apply the sealant using a paintbrush. Let the sealant dry for a couple of hours before installing them.
In case you’re still puzzled. It’s alright. We went over the procedure in 5 simple yet detailed steps.
Let’s dive in, shall we?
Why It Is Necessary To Get Particle Boards Sealed?
Sealers are essential for any renovation or DIY project of particle boards. It increases their durability. The board can easily tolerate weight, extreme heat, rain, and snow when sealants are applied to them.
Particleboards can be utilized anytime and anywhere once the sealer has been applied. You won’t have to be concerned about ruined boards.
As time passes, the sealant hardens, making the board more resistant to water and heat. This makes it the better choice to use in any type of installation. It could be in the kitchen, roof, or any other place.
Particleboards are frequently found damaged when they are not sealed before installation. You are most likely to come across water in the basement if it was made from unsealed particle boards.
How To Seal The Particleboard: 5 Easy Steps!

Unsealed or incorrectly sealed particleboards can be worn down and shattered easily. That is why in the case of sealing it is absolutely necessary to use proper technique. You should also use a waterproof sealer to get the best results.
Tools required
Before you can start applying the sealant, acquire the tools you need. Let’s look at the tools you’ll need for this project:
- Jigsaw or Circular saw
- Painting brush (Small and large)
- Measurement tape
- Sealant
- Marker
- Safety Goggles
- Gloves
- Mask
Now that you have all the tools ready, let’s get these boards sealed!
Step 1: Safety Precautions
Woodchips, sawdust, and glue are used to make particleboards. When cutting or trimming the boards, it’s common for these chips to fly into the air.
Before you start cutting or trimming, put on your gloves and safety goggles. Wearing a mask can also protect you.
Step 2: Measure the Particleboard

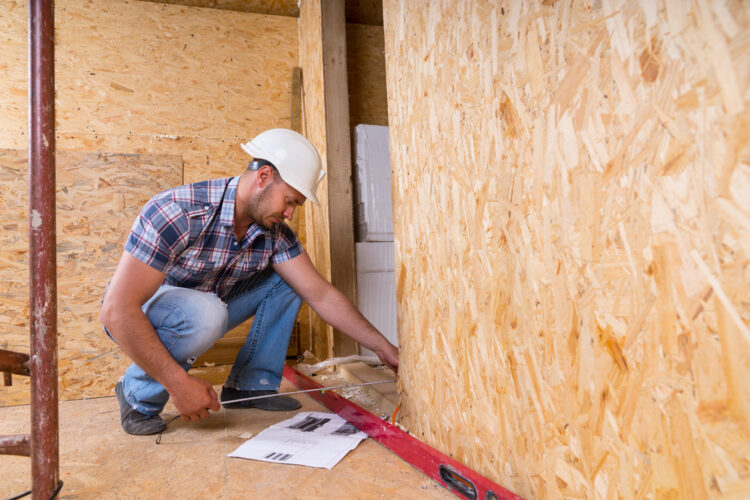
First, use a marker to mark the areas where the particleboard will be put. Then, using a measuring tape, measure the size of the area. Take width and height measurements and write them down in a notepad.
Mark the same measurements on the particleboards. Make sure you’re using the correct measurements for each area. Don’t confuse the board’s width with its height.
If one measurement of the board is wrong, the whole structure would be ruined. Just like one bad outlet can cause all others to stop working.
Step 3: Cut the Board
Now that the boards are properly measured, time to cut them. Put on your safety goggles and cut the board using a jigsaw or a circular saw.
Don’t try to go too fast while cutting the board. Take your time and cut along the line you have just drawn. This will ensure a safe and proper cutting of the boards.
Step 4: Apply the Sealant
The best sealant to use on particleboard is a clear acrylic sealant. Choosing the right one from a variety of options might be difficult. But don’t worry, here are few recommendations from us to help you out-
| Product 1 | |
| Product 2 |
Before applying the sealant, give it a good shake to thoroughly mix the ingredients. Apply an even layer of sealant around the boards with a small amount of sealant. You can do this with a small painting brush.
Apply an additional coat of sealant to areas that are more likely to be exposed to moisture. Make sure the sealant is evenly applied on both sides of the board. Use the large painting brush while applying the sealant on the surface of the board.
Step 5: Let it Dry
After putting a generous amount of sealant on the board, allow it to dry completely. When the boards are dry enough, inspect them closely. Look closely to see if there are any spots that are left to be sealed.
Apply a second coat of sealant to those spots and let them dry. You can also dry the sealant with a hairdryer, but not on high heat.
And that’s it! Sealing the boards is done. After the boards have dried completely, you can use them wherever you want without fear of being damaged.
But while installing them, make sure to put them evenly on the ground. Because it can be quite hard to put tile on uneven floors in the future.
Can You Repair A Damaged Board?
Yes, you can fix a broken board. It is dependent on the extent of the damage to the board. To repair them, first carefully inspect the areas that have been damaged. If the board is damp, you must first dry it.
Let it dry naturally or use a hairdryer to speed up the process. After that, sand the affected area with sandpaper. Clean up the area and seal it with a coat of sealant. Wait for a couple of hours for the sealant to dry. You can reinstall it after it has thoroughly dried.
That’s all we had to offer today. We hope you found our guide useful!
FAQs
Question: Is particle board a more durable material than plywood?
Answer: When compared to plywood, particleboard isn’t as sturdy or long-lasting. Particleboards are more prone to damage due to their soft composition.
Question: Is particleboard used by IKEA?
Answer: Particleboard with a white, smooth finish makes up a large portion of IKEA furniture. This heavily compressed wood is less dense than solid wood, resulting in a lighter-weight piece of furniture.
Question: When it comes to particle board cabinets, how long do they last?
Answer: Furniture and cabinets made of particleboard are simple to assemble and can be painted to match your personal preferences. These usually last around 3–5 years without leakage issues.
EndNote
Using a sealer on your particleboard makes it more weather-resistant and tougher to some extent.
And now that you know how to seal particle board.
We hope you can get them sealed as soon as possible.
Good luck sealing the boards!