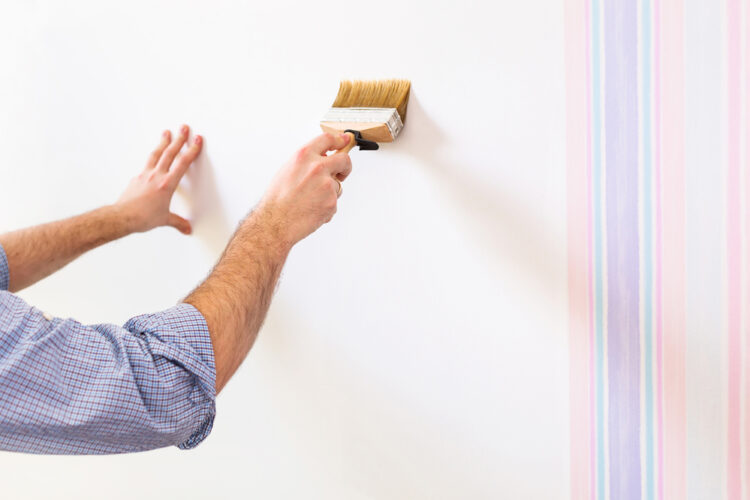
After removing your wallpaper, you meet a huge obstacle.
That is the wallpaper glue is stuck to the wall. A disastrous situation, isn’t it?
What can you do about it?
Can you skim coat over wallpaper glue, perhaps?
Yes. You can do it. However, before that, you need to seal the glue first. After sealing the wallpaper glue, you can start skim coating the wall. This can be done by applying joint compounds and making wall repairs.
For this, you need a more detailed explanation. Along with that, we’ll also describe the entire process of skim coating. So, stay tuned and read on!
Can You Skim Coat Over Wallpaper Glue

Skim coating is to help make wall surfaces smoother. As we’ve said before, you can skim coat over wallpaper glue.
Even if it’s possible, you can’t do it the usual way. Because, if you do, the joint compound used during skim coating will not set. Unless you do something about the glue, the skim coating will not work.
The best way to skim coat, in this case, is to seal the glue. After that’s out of the way, you can start to skim coat. Skim coating actually works the same way as carpeting over certain tiles!
You now know that it’s possible to skim coat over wallpaper glue. Now, how actually do you do that? Don’t worry, we’ll explain below. Of course, we’ll elaborately describe how to seal the glue too!
How Do You Skim Coat Over Wallpaper Glue: DIY Guide

Following these 4 steps below, your wall will be as smooth as leveled base cabinets!
Before you start your project, gather some tools first. Make sure these are all near you while you skim coat your wall!
Tools Required
The tools that you require for sealing the glue and to skim coat are as follows:
- Razor knife
- Drywall taping knife (Size: 6 inches)
- Scraper
- Problem Surface Sealer/ Oil-based Primer
- Paint Roller
- Fiberglass tape (Matte)
- Joint Compound (Preferably Drywall mud)
Be sure to gather these tools before following the step-by-step guide below!
Step 1 of 4: Scraping off the Wallpaper
You’ll be starting off your project with a rough-looking wall. As there will probably be little pieces of wallpaper stuck. After all, the glue is persistent sometimes. So, it doesn’t let you tear off all the papers.
For this, start by removing the tiny scraps of paper still left. Easier than taking out backstabbed wires, huh?
Now then, start by grabbing both the razor knife and a taping knife. The taping knife is made especially for drywall-related purposes. Take them both together and start scraping off the scraps.
The papers in the middle of the wall will be easier to scrape off than the corner ones. That’s why first, scrape off the torn papers in the middle. After that, go to the corner of your walls. Pay special attention while cutting those off.
Next, you need to take your scraper for the final touch. Use it to scrape off any more wallpaper left on the wall. The scraper will help in removing the papers as well as smoothening the walls. Repeat until you’re done!
Step 2 of 4: Removing the Adhesive
This is the crucial step that’ll determine if the skim coating would be possible or not. After all, this step is about removing the wallpaper glue.
You can deal with wallpaper adhesives by sealing them or removing them. Wallpaper glue can be sealed using an oil-based primer.
These primers work by sealing the adhesives remaining on the wall. So, after the primer dries, you can start the skim coat. Keep note that a water-based primer can’t seal glue!
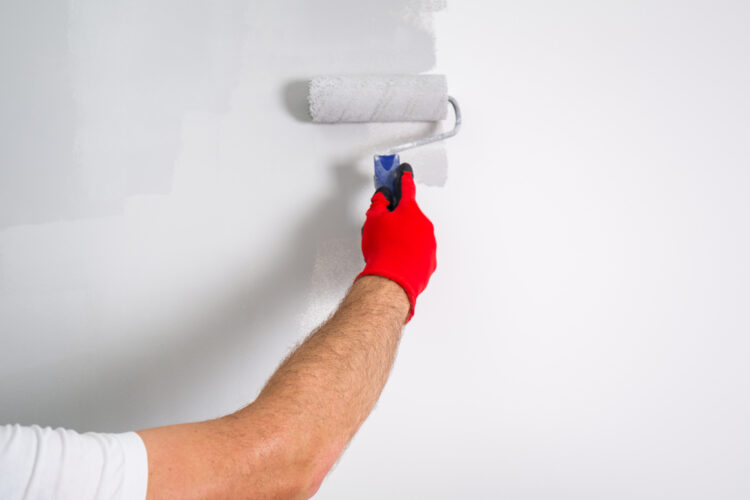
Taking a bucket of oil-based primer, grab your paint roller. Immerse the roller in the primer. Be careful to not take too much of it on the roller. Your aim is to apply only a thin coat of it.
Spread the primer thinly throughout the wall. Then, repeat the process again in the corners of the wall.
Sometimes, you can use surface sealers as glue sealants. Since they’re also oil-based.
Most importantly, they are widely available. Not only that, they’re popular because they’re easier to use as well. So, you can understand why you should go for them too.
Now then, save yourself the hassle and order away your own surface sealer! Here are our top recommendations below:
| Product 1 | |
| Product 2 |
Get your own surface sealer today!
Step 3 of 4: Applying Joint Compound
Now that you’re done sealing the glue, the real work begins! You can start skim coating over the wall now. For this, take your joint compound, the main material for skim coating.
There are many types of joint compounds available. So, it’s necessary to choose the best kind of joint compound! In this case, we would recommend drywall mud as the joint compound.
Thus, taking your taping knife once again, start applying it. Apply the layer joint compound generously over the walls. Once again, don’t forget to pay special attention to the corners!
Step 4 of 4: Making Repairs by Taping
Sometimes, after removing your wallpapers, you’ll see some tape marks. They come from the tapes holding wallpapers against the wall. In this case, you need to use matte fiberglass tape.
They do a wonderful job in blending in with the walls. After all, these tapes are super thin. So, attach these tapes against those tape marks from earlier. Then, apply a thin layer of the joint compound against the fiberglass tape.
There won’t be any other tape marks visible. In these ways, you can make your wall look good as new!
FAQs
Question: Is it a must to skim coat walls after removing wallpapers?
Answer: It is not obligatory to skim coat walls if they are not damaged. Then, there’s no point in wasting your time skim coating them. It’s not practical to do that either if the walls are not pitted to the slightest.
Question: How do you tell if all the wallpaper glue is removed?
Answer: Well, you can actually determine that using a very simple trick. Grab a spray bottle and pour some water inside it. Then, spray the water throughout the entire wall surface. Turn on your timer and wait around 5-6 minutes. After that, run your hand across the damp areas you sprayed. If the wall’s damp areas feel dry and not sticky, there’s no glue left!
Question: Do I have to sand walls after removing wallpapers?
Answer: It’s not a mandatory procedure. However, you can try doing so if your wall is damaged and not smooth. So, after taking off the wallpapers, spray water across the wall. Sand it next quickly before the water dries. Just remove the sand residues with a scraper and you’re done!
Bottom Words
We hope we answered your question of can you skim coat over wallpaper glue. Also, you should be clear when you should skim coats too!
We’d like to offer a piece of advice, though. While doing this, work with LEDs.
If the wall is surrounded by lights, it’ll be easier to notice the damaged areas.
That’s about it from us. Good luck!