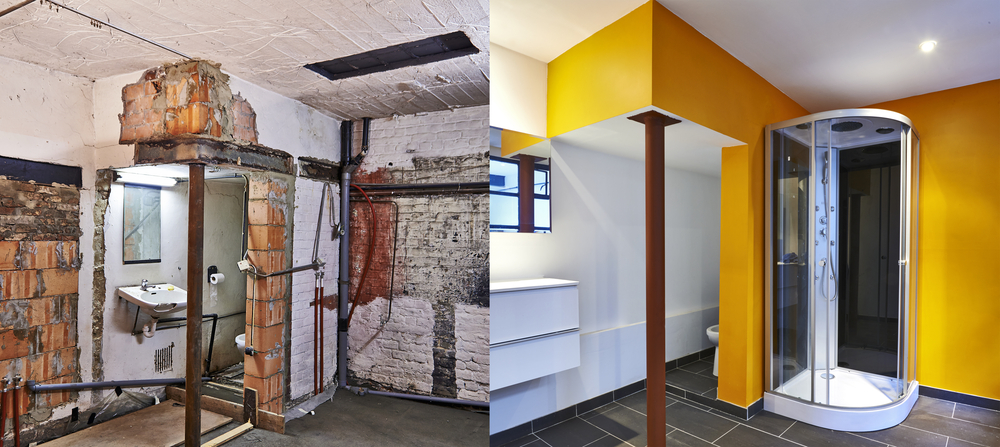
Having one bathroom and getting it renovated can put you in a pickle. That means you don’t have a place to shower. And you certainly don’t want to stink. So you got to find a way to take a bath, right?
Now, the only solution is to build a shower but how do you make a temporary shower while renovating the bathroom?
You can make a temporary shower using pipes, hose and other handy materials. Start by attaching the pipes to create an outline of a room. Then cover it up with shower curtains for privacy. Lastly, attach a shower head to the hose to complete the job.
Still, confused about what to do? Don’t worry; we have your back. Simply stay with us and we’ll walk you through all the steps in detail.
How to make temporary shower while renovating bathroom in 5 steps

Renovating can be super fun. You get to turn your sunroom into a bedroom, get new wall color, and whatnot. But if your bathroom is getting renovated then it’s a whole different deal.
You don’t have a place to shower in your own house. But don’t worry; because we’ll show you how you can make a temporary shower all by yourself. And the best part is you can use it anywhere you want. So, are you ready?
Things you’ll need
Firstly, let’s start by gathering up everything. Here’s a list of all the items you’ll need:
Step 1: Assemble the pipes to create a base

The first task is to create the base of the shower. For this, you’ll need 4 pipes. And their length has to be 3 feet. Attach each of them to tee fittings that have 2 sides.
One side will attach to each of the pipes and make a square. As for the other side, it’ll face upwards at a 90-degree angle.
Those upwards sides will be used in the second step. As for this step, you only have to make the base.
Step 2: Attach the pipes to make the sides
Secondly, attach 6 feet long pipes with the base. Now, the pipes will fit right into the tee fittings that are facing up. So, you won’t have a lot of trouble.
And make sure you use glue to secure the pipes. Since they’ll make the side you need some extra protection. No one wants their shower to fall apart when they’re taking a bath, right?
Now, this might sound hard but at least the temporary shower won’t need a lot of maintenance like the regular shower. Yeah, they demand a lot of things.
Like closing up the gap between the floor tile and tub, floor cleaning and checking for loose pipes.
So, cheer up. And do a bit of work. In the end, you’ll have a functioning shower that isn’t high maintenance.
Step 3: Create the top part of the shower using pipes
As both the base and the sides are assembled you can start working on the top. For this, you also need PVC pipes and tee fittings.
Now, make sure these PVC pipes have a length of 3 feet. You want the top and the bottom to be of the same length.
Anyways you know the drill. Attach four pipes with each side and make a complete outline of a room. It’ll kinda look like a stick figure in a small room.
Step 4: Attach the shower curtains
Once the shower can stand on its own you need to attach shower curtains. This will give you the privacy you wanted.
And to actually put on the shower curtain you need some rings. This will go through the shower curtain and attach them to the top pipes.
While you attach the curtain make sure you cover all sides of the shower. But do make sure that there is a way to get in the shower. You don’t wanna close up all the entry points.
And don’t get disheartened. This is all a temporary situation. Plus it’ll also help you save water since you won’t want to stay in the shower for too long.
And it’s good to save water especially when you’re at home.
Step 5: Join a shower head with hose
Lastly, you need to make a way to get access to water. For this, you need a water hose. Now, the water hose doesn’t spray the water like the rain showerheads.
So, you need to attach it to a showerhead to get the perfect spray. Now, you don’t have to worry about stuff like the distance between showerhead and wall. That’s because it’ll be a temporary arrangement.
For this, all you have to do is take a showerhead and stick it to the end of the hose with some tape.
Since this is a temporary arrangement it’ll work. And once the showerhead is in its place you can put it over the temporary shower that you created and take a bath.
FAQs
Question: Is it a good idea to replace a bath with a shower?
Answer: We suggest you keep to the bath because it increases the value of the house. So, if you ever end up selling the house you will get a better price for it.
Question: Are walk-in showers a good idea?
Answer: The walk-in showers are a great jewel for the bathroom. It’s also super easy to clean. And in the end, it’ll also increase the value of your house.
Question: Can you have a walk-in shower in a small bathroom?
Answer: The walk-in showers eat up a lot of space. So, it won’t be the right fit for a small bathroom.
To sum up
That’s all the steps for making a temporary shower while renovating the bathroom. If you follow instructions carefully you’ll have a fully operating shower in your backyard.
We hope you have a fun time bathing and don’t end up missing your old shower too much. Anyway, we’ll take our leave now.
Have a great day. Goodbye!